Artglider helps you in the process of creating email campaigns for fans. You can send your newsletter to your subscribers and track the results by adding a campaign.
Here’s how.
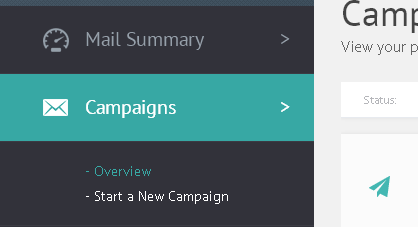
Click the Campaigns tab on the left side of the Artglider Mail Enginner control panel.

Click either the “Start a new campaign” link on the left menu, or the big “Start a new Campaign” Button top right.
You will now be guided through the following simple five step campaign wizard.
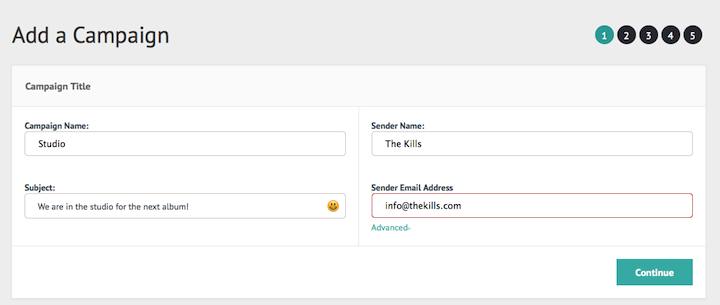
1. Enter an email subject, a sender name and a sender email address. These details will be used on the emails that go out so make sure they are correct. Click continue when you are ready.

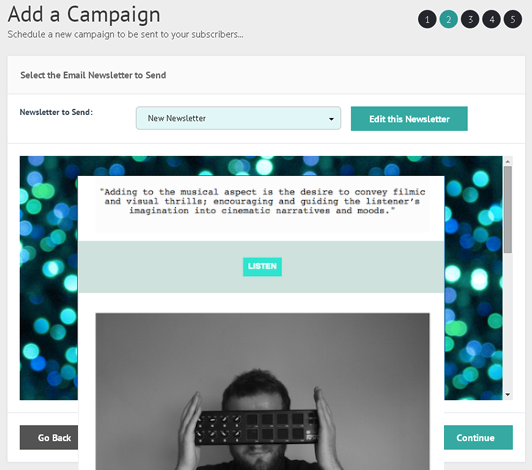
2. Select the newsletter you would like to send from the drop down list. If you haven’t added any newsletter yet you will be offered the chance to create one.

3. Next select the subscriber group(s) that you would like to send your email to. You can select more than one group by ticking the tick boxes on the left of the page next to each group. You can also Segment your groups using the “Filter” option at the top of the page. When you are finished selecting groups, press the continue button.
4. Step 4 allows you to review and confirm the details you have entered. Look over the details of your campaign and click the “Edit” Buttons next to anything you would like to change. Click the continue button at the bottom right of the screen to continue when you are happy with everything.

5. Enter a campaign start date and time, you can schedule up to 3 years into the future. This is important: If you haven’t chosen your time zone when you signed up, do it before you send the email. Your time zone might be different than default one. You can change your time zone in your profile “Overview” menu.

Then select the “Advanced options” tab if you would like to change any of the default sending options such as Daily Email reports sent to your email inbox, delete bounced emails, automatically copy bounced emails to another group (So you can retry them later) and automatically copy people who clicked links to another group.
When you are happy with everything, click the “Continue” button at the bottom right of the page to send your campaign.
Your campaign will now send when the start date and time is reached.
If you have scheduled your campaign to start in the future, you can edit your campaign where you can make changes or cancel the campaign.

